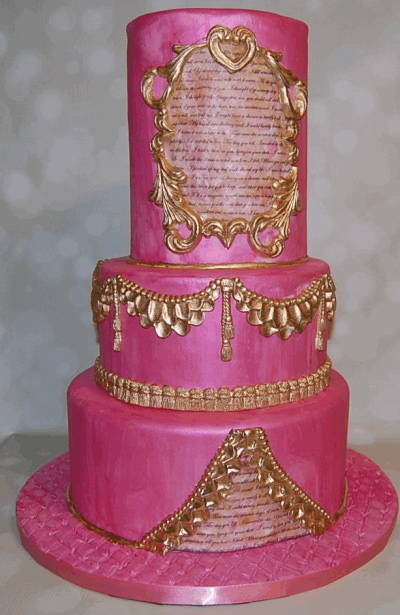
French Regalia Cake Tutorial
Cake Tutorial by Mark Desgroseilliers of Morsels by Mark
I usually get inspiration from fashion, movies, and TV – fabrics, colors, textures, patterns and so on. Recently, I was watching History Channel, and they were talking about Marie Antoinette. That got me inspired to do a cake based on silks, ruffles and gold embellishments. Once I decided on the base structure, I knew it was time to turn to my Marvelous Molds® collection to help determine design.
Tools and Supplies:
- Fondant covered cakes (the top tier should be tall – at least 6 inches)
- Sterling Pearl dust (I used Elana Rose by the Sugar Art)
- Gold Highlighter
- Yellow Fondant
- Wafer Paper printed with a love letter
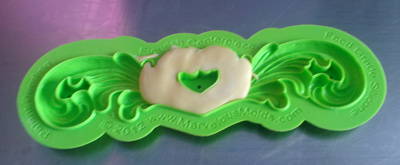
- Flourish Centerpiece Mold
- Left Prime Flourish Mold
- Right Prime Flourish Mold
- Left Essential Flourish Mold
- Right Essential Flourish Mold
- Grand Tassel Drop Mold
- Grand Tassel Border Mold
- Ruffle Swag Mold
- Airbrush color (brown, yellow)
- Cotton Balls
- Wide Texture paint brush
- Clear Alcohol
Instructions
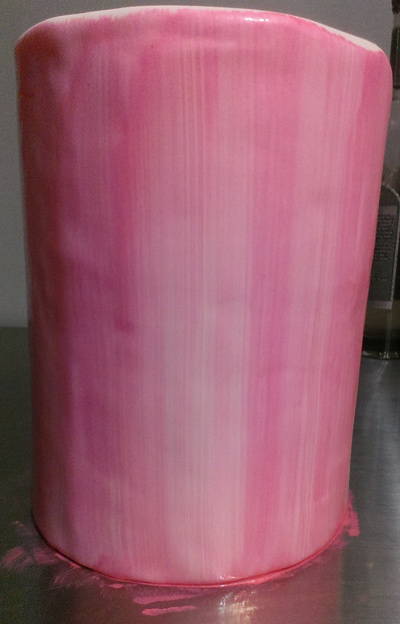
1. Cover your cakes in a pale fondant to match your desired color. You want it to be very pale so it will offer contrast when painted to get the “silk” effect.

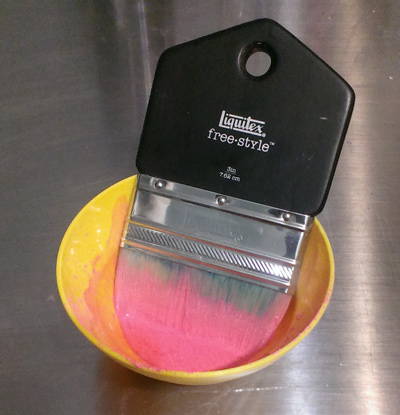
2. Make a paint using your sterling pearl dust and alcohol. It should be the consistency of whole milk.
3. Paint your tiers using a wide brush and moving from bottom to top. Allow to dry and repeat on each tier. I did two coats and kept a streaky appearance as it look like silk to me.
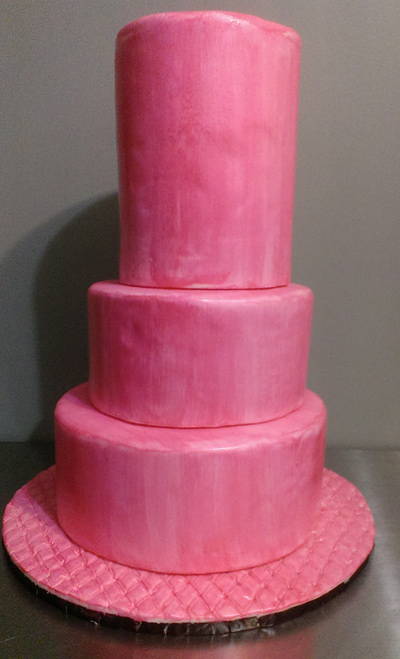
4. Cover your cake board as desired. (I went with a quilted pattern that I painted, as well). Stack your cakes being sure to use proper support (dowels in each tier and a central dowel, too).
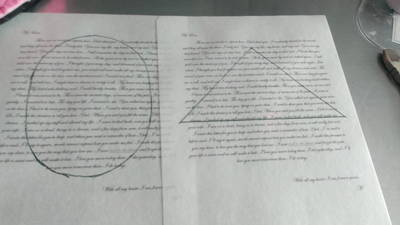
5. Decide on shapes for your “aged paper,” make templates and trace them on your printed wafer paper.
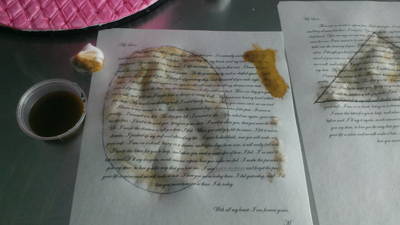
6. Make a wash on the antique the paper using airbrush color and alcohol. Test an area on the outside and when happy, antique the required area using a cotton ball.
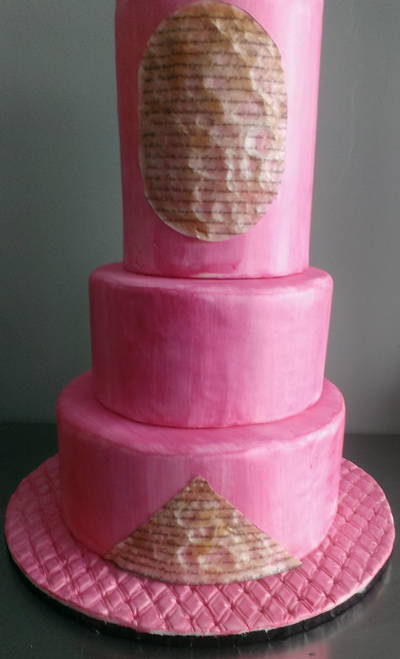
7. Let paper dry, cut shapes and apply to top and bottom tier with piping gel.
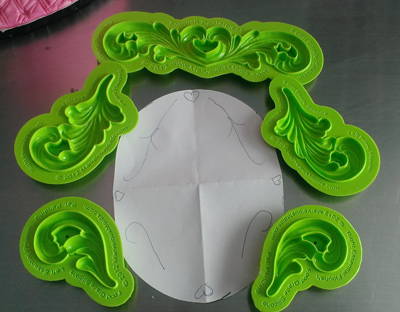
8. Using your template for the top tier, lay out your molds and jot down a rough shape for your “frame.”
9. What I love about the scroll molds is that you are not limited to using the full mold – you can use portions of them to get a multitude of designs; here I wanted the heart shaped scroll from the middle of Flourish Centerpiece.
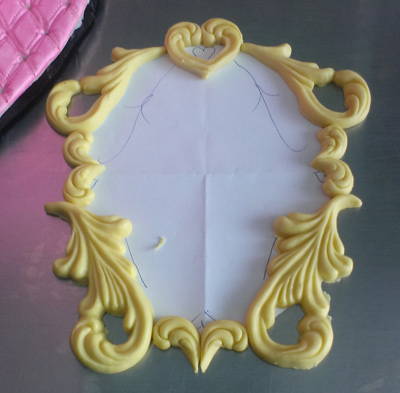
10. Lay your frame out around the template so you have an idea of where it will go on your cake.
11. Using piping gel, apply your frame to the top tier.

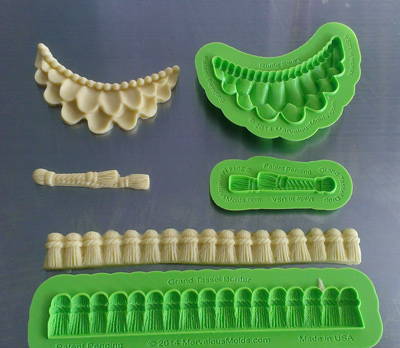
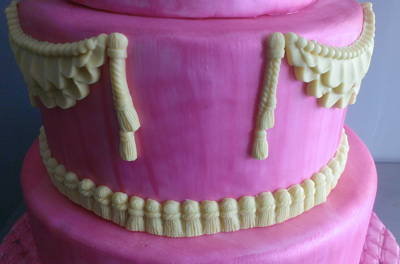
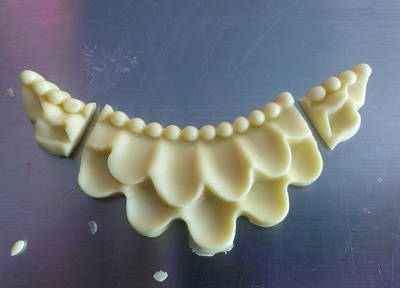
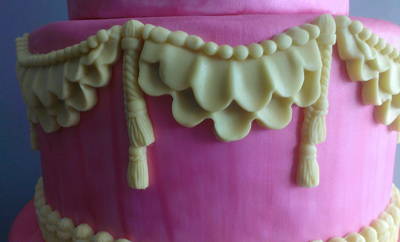
12. Mold your tassels and swags and apply to middle tier.
13. Don’t worry if a molded piece doesn’t fit exactly; they can be trimmed to fit. (I always make sure to do this on the “back” of my cake).
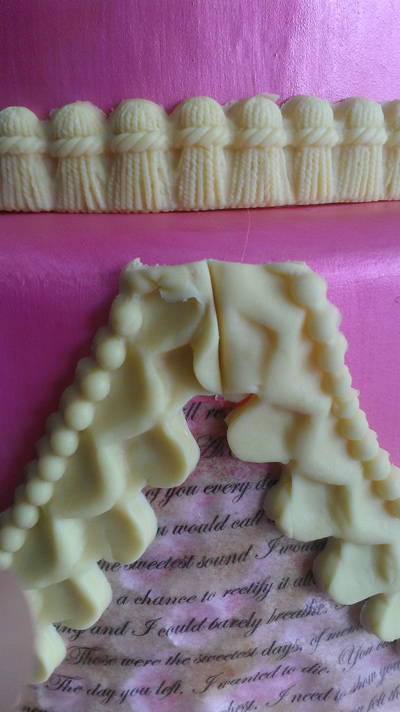
14. Add ruffle border to edges of paper on bottom tier. Allow them to overlap at the top so you can make a clean cut and have them line up evenly.
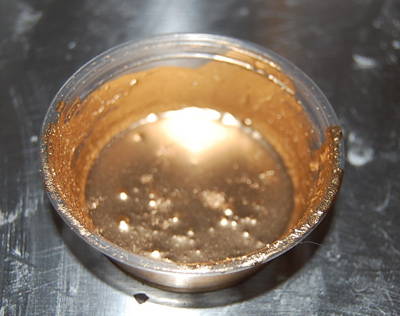
15. Make a gold paint using highlighter and alcohol; it should be the consistency of thick cream.
16. Paint all embellishments, add a ribbon border, and you have a cake fit for a queen. Let them eat cake!

This French Regalia cake tutorial was created by Mark Desgroseilliers from Morsels by Mark. Mark is an award-winning Montreal based cake designer who is the administrator for the local chapter of the Canadian Cake Decorator’s Guild. He loves sharing his passion for sugar and teaches internationally. Visit him online at: http://morselsbymark.weebly.com/